5 Simple Activities With Foamy
Foamy or EVA rubber is a material for doing manual work with many advantages and various uses. We offer you some activities that you can do with this material.

EVA foam or rubber, also called foamy, is a material used to make handicrafts. This foam has many advantages and various uses.
Generally, it is used to make activities for children, but it can also be used to make centerpieces, decorations in schools or other places. The foam is very easy to use, so the use of glue is not even necessary.
Today, we offer you 5 simple jobs with this material. They don’t require a lot of work, but the result is very beautiful.
In most cases, the only items you will need are foam and scissors. And also, without forgetting a little creativity and artistic sense. So set up your worktable and build these works of art quickly and easily.
Spring flowers with foamy
To make these flowers, you will not need any molds or glue. They are very easy to make and will look beautiful to you. You can vary the instructions we present to you for making different types of flowers.
Materials you will need
- Pencil
- A pair of scissors
- Felt balls
- Sticks for making skewers
- EVA foam in various colors
- Optional: washi tape in different colors to adhere the flower
Steps to follow
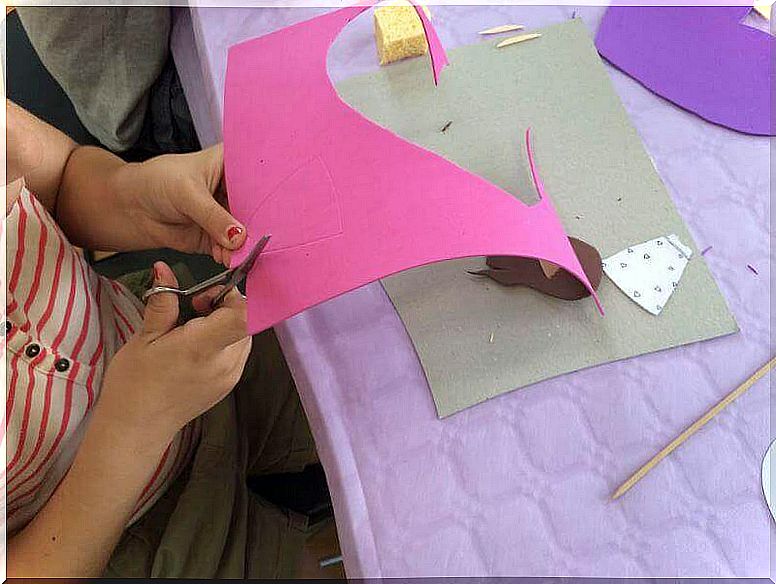
- Draw the shape of the flower you like on the foam or EVA rubber.
- Cut out two circles of different sizes in two different foamy colors. These two circles are the ones that will go to the center of the flower.
- Assemble the flower and the two circles pierce them with the skewer stick.
- Then place a ball of felt or clay on the center point of the flower.
- To give more volume to the petals, bring them closer to the center by pressing and heating them.
- If you wish, decorate the stick with the washi tape or paint it with a little tempera.
Dolls and animals in foamy
It is a classic among the artists who use the foamy. You can do any animal figure that exists. Popular characters and foam animals look cute and are easier to do than you might think.
Since it’s all about showcasing your imagination and creativity, there are plenty of creations you could make. One of the most useful techniques when making animals or figures is to trace the silhouette on the foam.
You can, for example, make very beautiful ladybugs with black and red moss. Or, how about a bumblebee with black and yellow moss?
If you are celebrating a themed birthday for a child, make the candy bags with him or the party themed characters. If you have the time and the will, you can even make three-dimensional dolls.
Birthday cards for kids
The advantage of making birthday cards with Eva gum is that you can let your imagination run wild. You can do them in different sizes and even using cool characters. But of course you can also write “Happy Birthday” or “Come to my party” with the EVA eraser.
Making foam cards is very easy due to the versatility of the material. It can be cut, glued, folded, thermoformed or sewn. So the next time you have a birthday, make your own cards instead of buying them at the store. It’s cheaper and a lot more fun.
Letters and shapes
So that the little ones can learn the alphabet in a fun way, make letters with the foamy, as well as numbers.
For each letter, create the shape of an object whose name begins with that letter. You can also make basic shapes, like diamonds, hearts, butterflies, or eggs. Just cut out the shapes.
You can also use letters to decorate the walls with your name, your baby’s room, the birthday party, etc. The truth is, there are no limits to all the creative things you can build.
Foamy stamps
You don’t have to go to the store to buy some fun stamps for you and your kids. You can make them very easily with EVA foam. All you have to do is cut out a very precise shape, if you like, draw a design inside. Then you need ink for printing.
If you want, you can also glue multiple designs onto a tube of toilet paper or kitchen roll, and you will have a very versatile stamping roll.
Give it a try, it’s very nice, easy and fun. For the base of your stamps, you can use a small block of wood. Glue the shape on one side, and voila!